Computer vision is an interdisciplinary scientific field that deals with how computers can be made to gain a high-level understanding of digital images or videos. From the perspective of engineering, it seeks to automate tasks that the human visual system can do.
There are many popular libraries and tools that are used, so we can do different operations in order to find solutions for the problems of this area. One of the most popular libraries is OpenCV (learn how to blend images using OpenCV).
Today we are going to use it, to create something cool and interesting. We are going to cartoonize live video footage. Keep in mind that you can not only cartoonize video footage but you can cartoonize an image as well.
The problem:
For this problem, or better for this case we are going to use Python programming language because it is easy to use and is really understandable for everybody, and OpenCV methods and functions are easy to implement in Python.
import cv2
import numpy as np
The first step is to import the libraries. We need the OpenCV (cv2) library and the NumPy library which is used for converting our image into NumPy arrays because some of the methods of OpenCV require an image to be a NumPy array.
This is the function that we implemented and it is going to help us to cartoonize the live video footage. There are comments on almost every line of code, so you can understand what is happening, but we are going to explain to you every single line anyway.
Firstly the function takes three arguments, the image, the blur factor, and the sketch mode. The first argument is pretty self-explanatory, the second is blurring the image on order for the image to get the effect like it is painted, and the third is going to determine if the footage has color or not (if it is set to “False”, the footage is going to have color).
First, we are converting the image to gray in order to use some of the required operations and for faster execution time.
Then we are applying a median filter in order to remove any noise from the footage.
After that, we are converting the image to RGB if the sketch mode has value “True”.
Then we are doing the final resizing and thickening the boundary lines of the image.
These lines are used to activate the laptop camera or your PC camera. The next two lines are variables that are going to help us to switch between sketching modes by pressing different keys on the keyboard.
Then we check what we pressed on the keyboard and call the cartoonie_image function. In the two different calls the sketch_mode attribute has different values and produces two different outputs (we mentioned what the output will look like earlier in this post).
Results

Image 1: Screenshot of the original video footage

Image 2: Screenshot of sketch video (sketch_mode = True)

Image 3: Screenshot of sketch video (sketch_mode = False)
Conclusion
This post is just an example of how can you use computer vision to create some interesting stuff in your free time.
We hope that we spark a little interest in you so you will be learning more about the real-world applications of computer vision.
Read these related articles:
- Learn How To Do K-Means Clustering On An Image
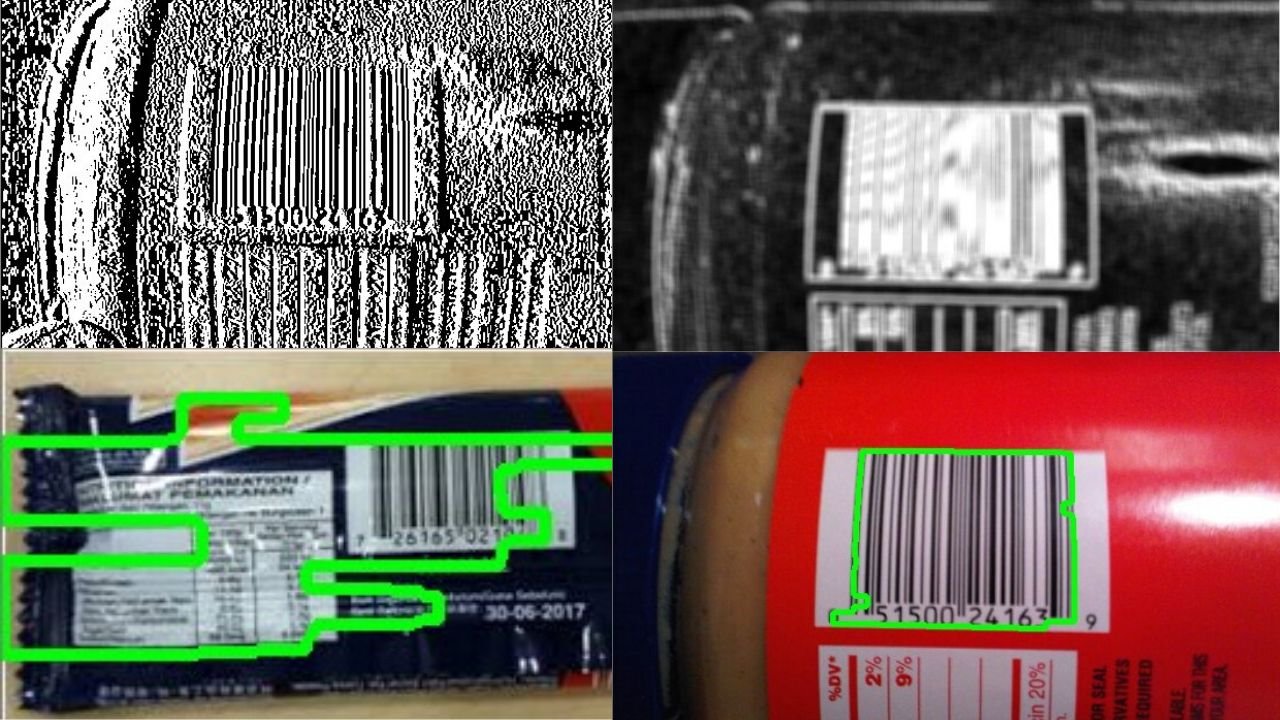
- How To Do Barcode Detection From An Image Using OpenCV
Like with every post we do, we encourage you to continue learning, trying and creating.